Windows Accessibility - Part 4
- Ailsa

- Dec 2, 2020
- 3 min read
In Part 1, I mentioned that I have no option to change the brightness of my display within Windows settings. I initially thought that this was because the buttons on my monitor over-write the brightness settings in Windows itself, but after talking to my dad about it, he gave me a solution (he's a total geek when it comes to computers). He showed me a piece of software that was developed by the same company who manufactured my monitor.
I think that the reason why I didn't have this before is that I have had two or three new computers since the first one I got aged 16, so we didn't think to download drivers or any other software as my monitor is what's called 'plug-and-play', which means that it works as soon as you plug it in and turn it on. Anyway, with this software, I can control the brightness of my display without having to use the tiny buttons on my monitor!
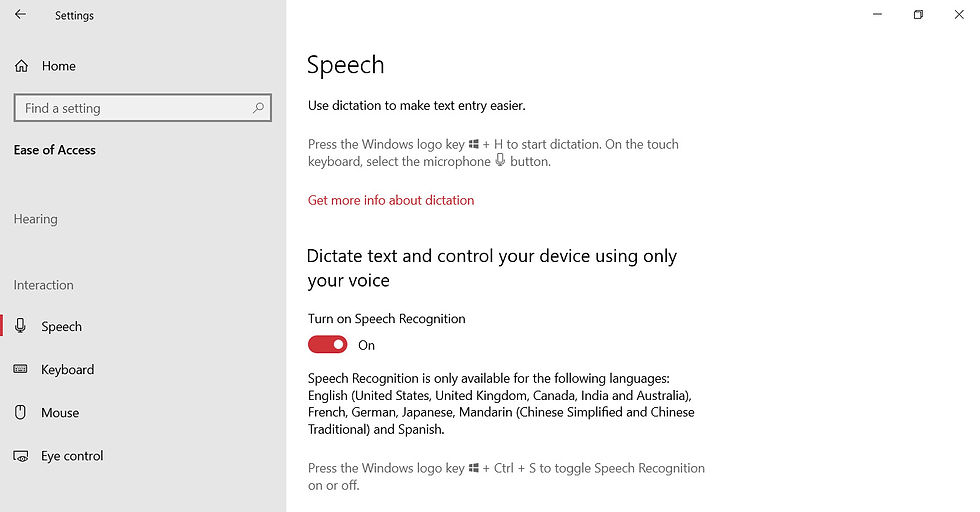
Nevertheless, let's get on with Part 4! If you struggle to use any type of mouse or keyboard, speech recognition could be the way forward. Windows has built-in Speech Recognition app that you can use to control your computer. You'll find this app in the Windows Ease of Access section, in both the Start Menu and the Windows Settings app. You can also use the keyboard shortcut 'Windows key' and 'H' to start this app. Unfortunately, Speech Recognition is only available in a few languages.

I don't know a lot about speech recognition because I have never been able to set it up as it wouldn't understand me due to my speech impairment, but I think you have to say some phrases in order to let your computer get used to your voice and the way you talk first and then you can control it with your voice. Fist of all, you have to choose what type of microphone you have; such as a headset or one that sits on your desk.

Then it gives you instructions about how to set up the microphone to reach the maximum performance and quality.

Then you need to say some phrases to help it get to know your voice. You can instruct it to start and stop listening to your voice. You can do this one of two ways; you can use manual activation, which I'm guessing is where you have to click a button to enable or disable the listening, or you can verbally tell it to start and stop listening.
Next, it gives you the option to print out a 'Speech Reference Card', This allows you to look back on what you have said to control the computer. After that, it gives you the option to start the app every time you turn your computer on. Finally, it tells you that your device is set up with speech recognition. Before you use the Speech Recognition app, it recommends that you go through a tutorial to get to know how it works.
When this is all set up, you should be able to control all aspects of the computer with your microphone and voice, including dictating text to write, opening and interacting with other apps. When the speech recognition app is open, you'll see a small rectangular window, like all apps, you can minimize this. This is the window below.

I'm sure there are other Speech Recognition apps out there as well, but I haven't looked into this much because this series is mainly about accessibility features within the Windows 10 operating system itself.
I used the Microsoft website to help me write this post, but it is all my words.
Unfortunately, we have already come to the end of Part 4! Keep an eye out for Part 5, see you next time...


.png)

_pn.png)
Comments